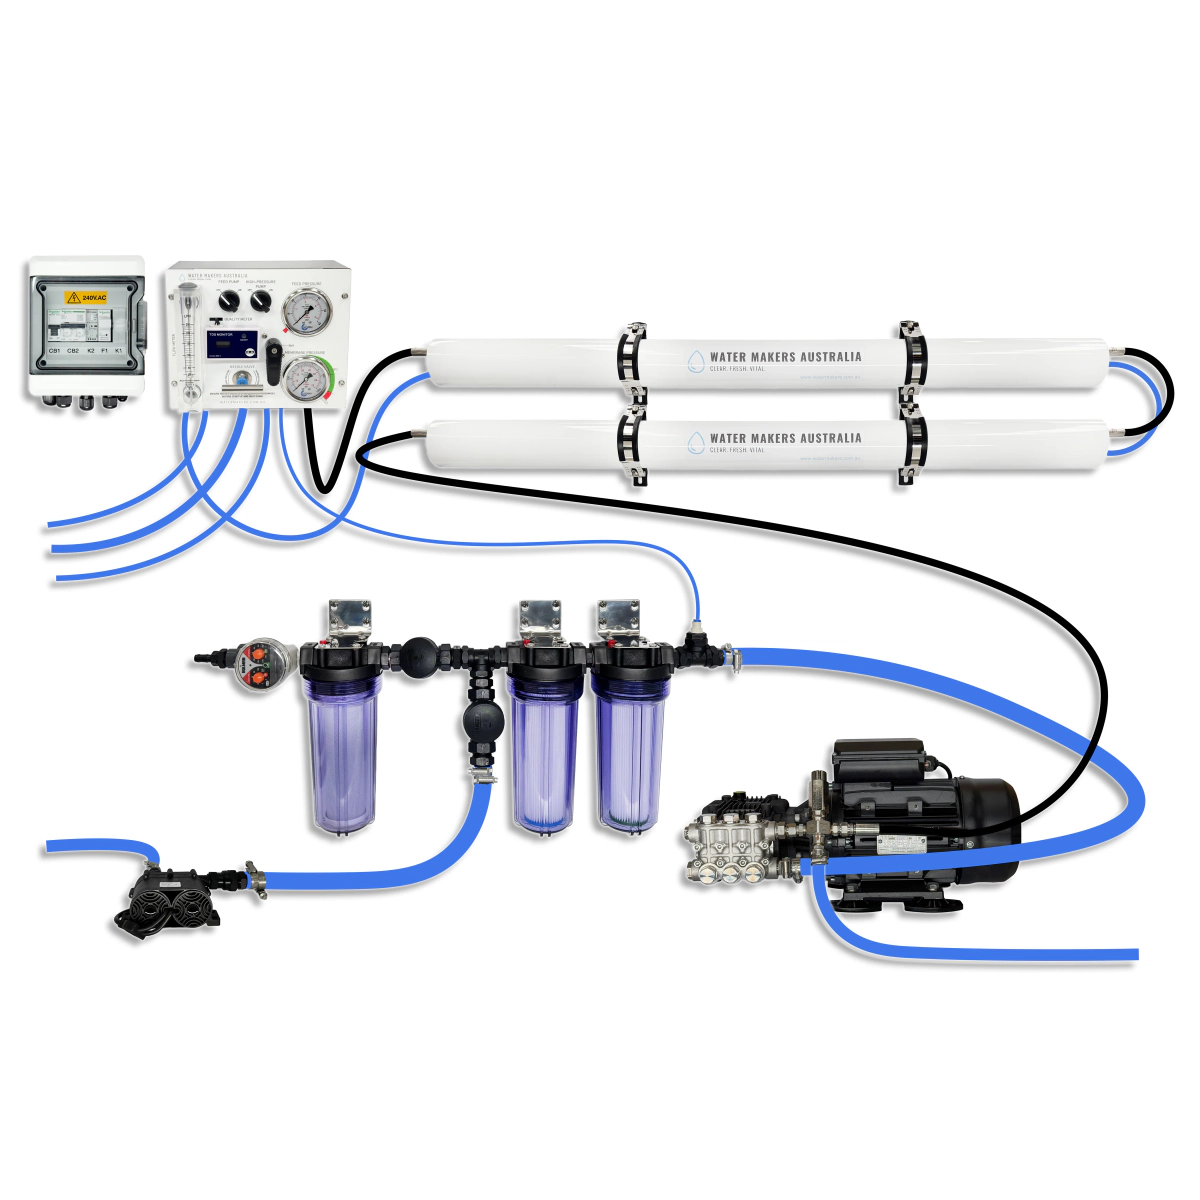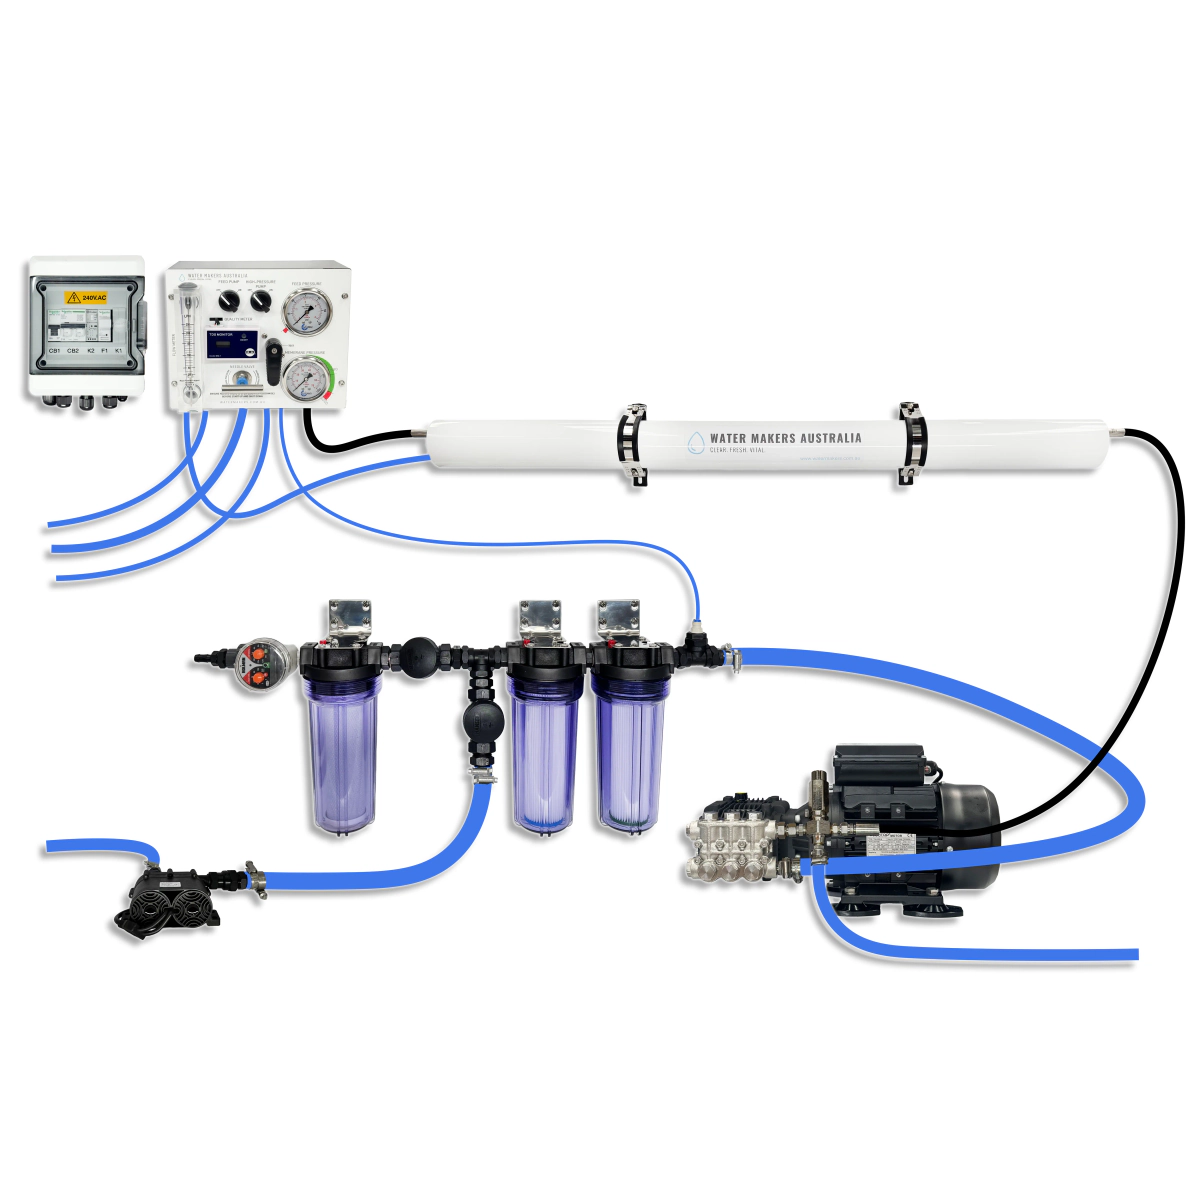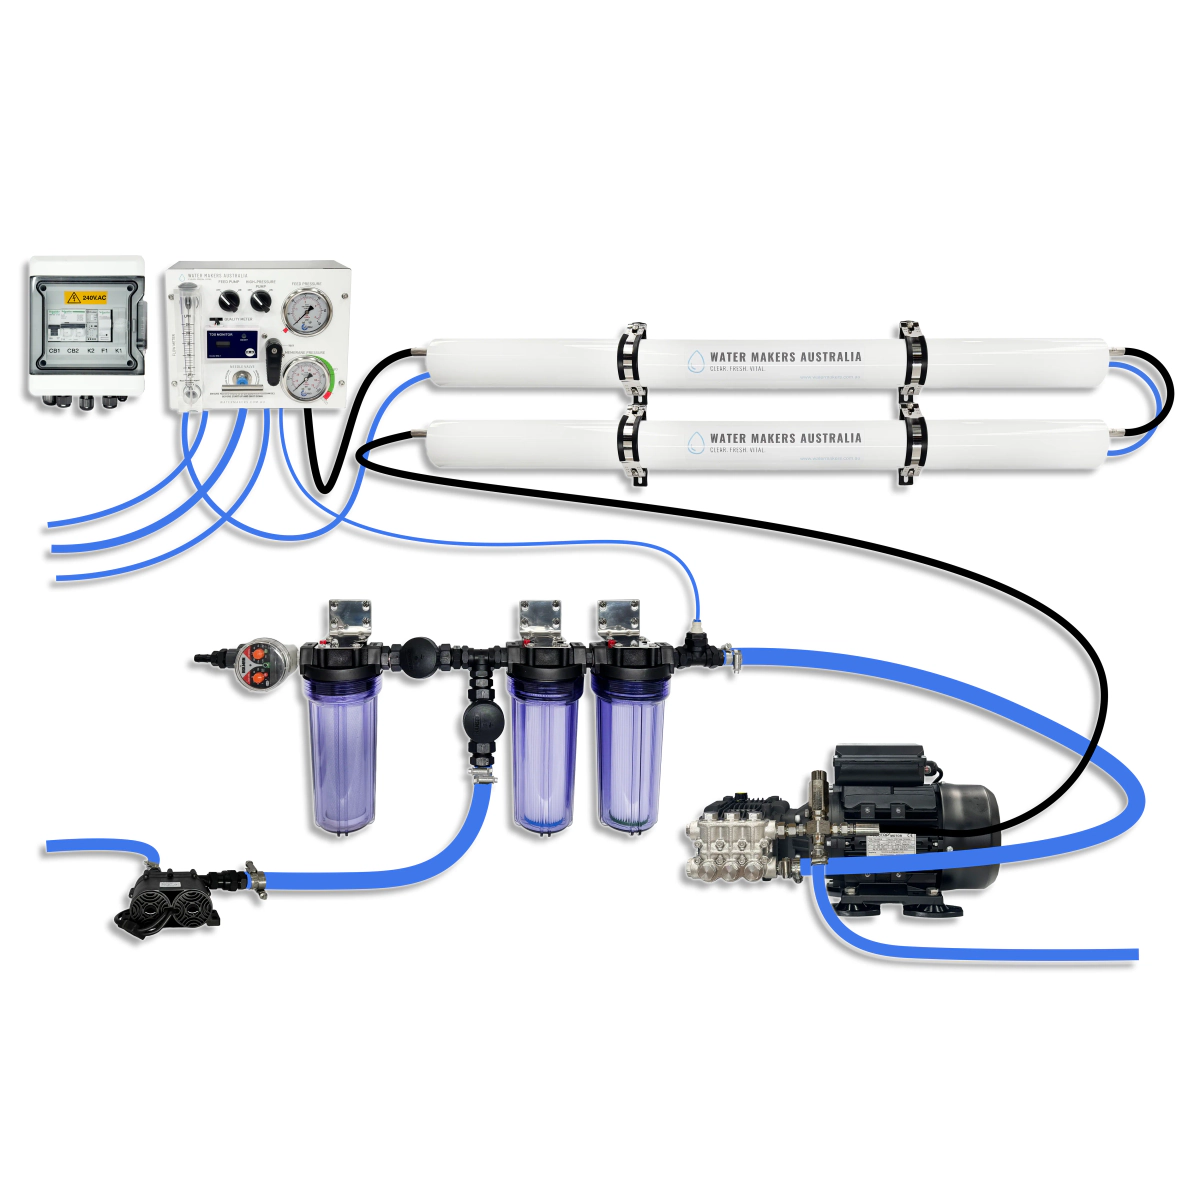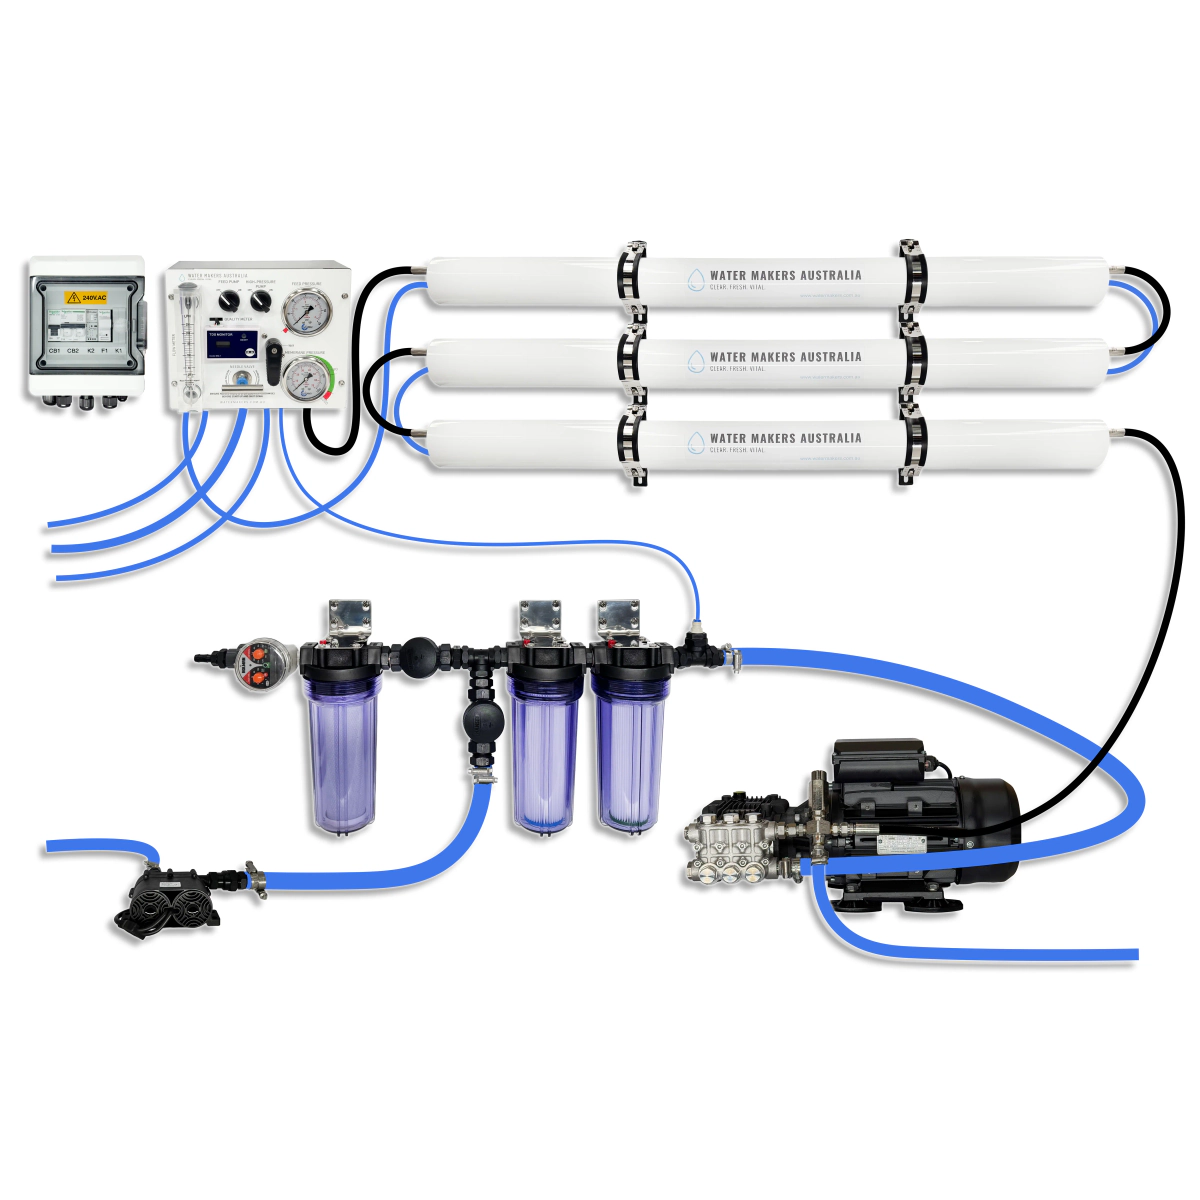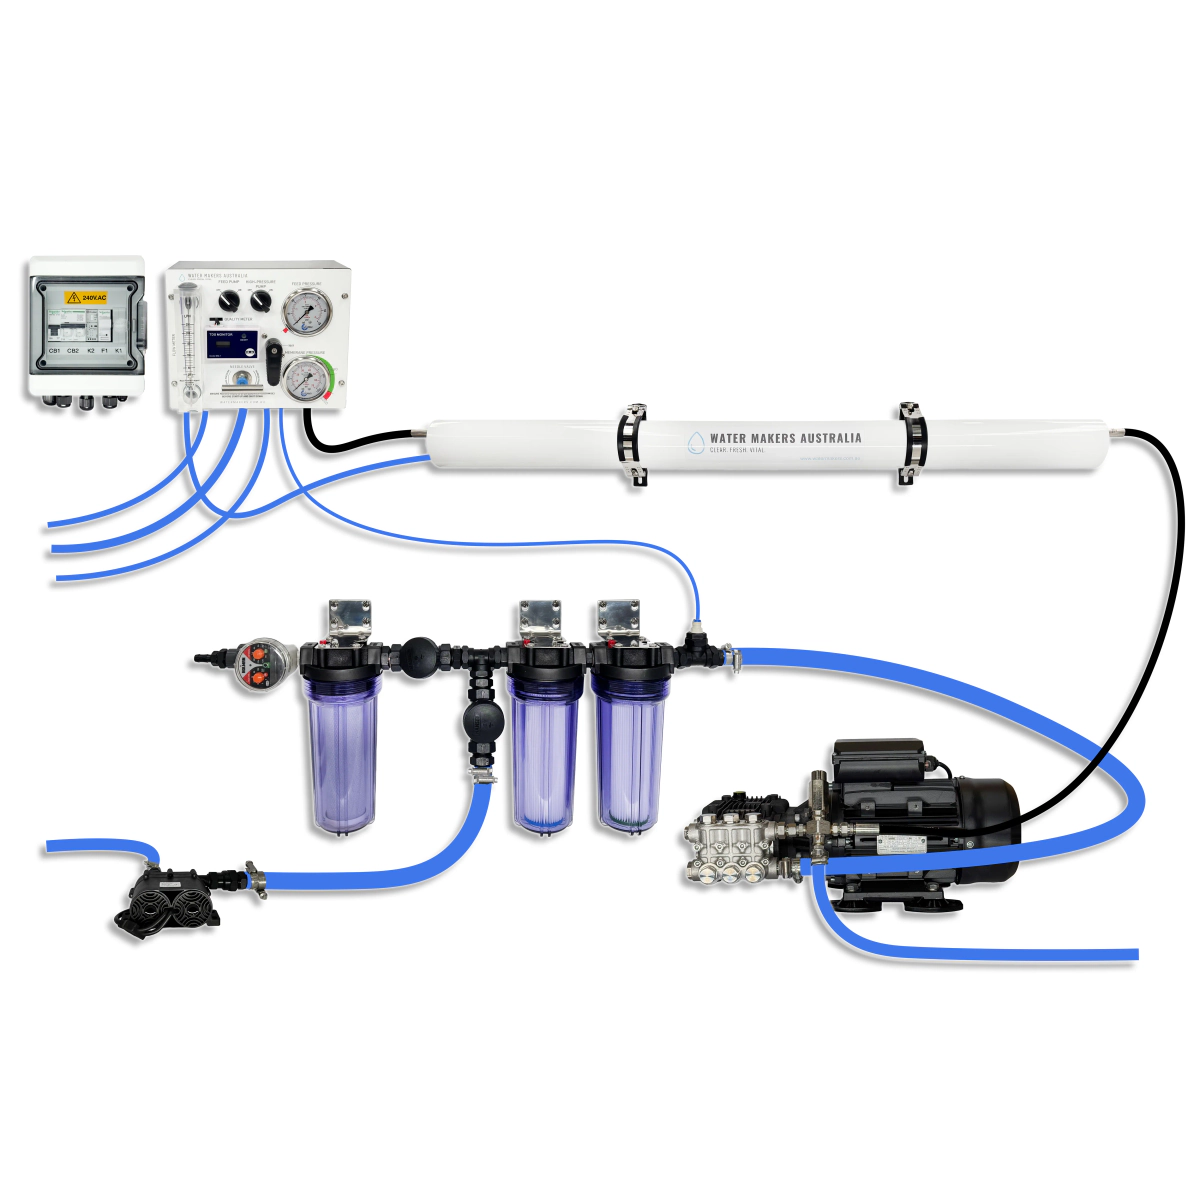
A watermaker install fails on layout, not on the unit. Plan every hose run before buying.
Step 1: the intake
- A dedicated through hull and seacock, low in the hull so it stays under water when heeled.
- Forward of and away from toilet, sink and engine outlets.
- A scoop strainer facing forward helps under way but can suck weed at anchor. A flush fitting is the usual compromise.
- Do not share the engine intake.
Step 2: strainer and pre filters
Mount them where you can reach them, with room to drop the bowls. You will open them often. Put a tray or a towel space underneath.
Step 3: pumps
- Feed pump below the waterline so it is always primed.
- High pressure pump on a solid base, with room to service it and as short a cable run as you can manage.
- Size the cable for voltage drop. These pumps dislike low voltage.
Step 4: membrane
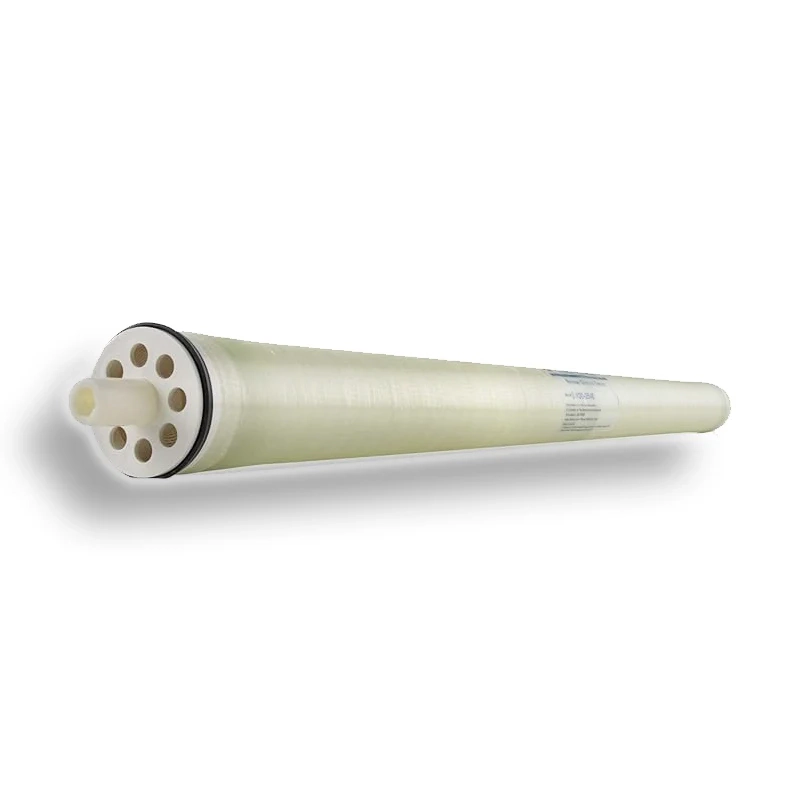
It can go almost anywhere and at any angle the maker allows. Long thin spaces under a bunk or along the hull side suit it. Keep it out of the engine room heat.
Step 5: brine and product water
- Brine goes overboard through its own fitting above the waterline, or teed into a sink or cockpit drain if the maker allows.
- Product water goes to a test tap first, then by a valve to the tank. Never plumb it so that untested water has to go to the tank.
- Use food grade hose for product water.
Step 6: fresh water flush
Tee a flush line from the pressure water system through a carbon filter. The carbon removes chlorine if the tank ever held shore water.
Step 7: commission
Follow the maker's first run exactly. New membranes ship with preservative that must be flushed out, usually for 20 to 30 minutes with the product water dumped.
Common mistakes
- Intake that draws air on one tack.
- Filters mounted where they cannot be opened.
- No test tap, so nobody checks the water.
Where each part goes
| Part | Put it | Why |
|---|---|---|
| Seawater intake | Low and forward of the heads and sink outlets, on its own through hull | Clean water, no air when heeled |
| Strainer and prefilters | Where you can reach and see them easily | You will open them often |
| Feed pump | Below the waterline, near the intake | Pumps push better than they pull |
| High pressure pump and membrane | Dry, ventilated, with room to remove the membrane | Service access |
| Control panel | Where you can watch pressure and flow | You run it by the gauges |
| Brine discharge | Above the waterline, aft of the intake | So you do not draw brine back in |
Parts and tools to have ready
- A dedicated bronze or composite through hull and seacock
- Reinforced hose of the sizes in the manual, with double clamps below the waterline
- A sample tap and a three way valve so product water can be tested before it reaches the tank
- Cable and a breaker sized for the start current
- A carbon filter on the fresh water flush line
- A handheld salinity meter
Plan the electrics
A 12 volt watermaker draws a steady current for hours, and voltage drop reduces output. Run cable sized for a drop of 3 percent or less from the battery to the pump, on its own breaker. Work out the daily amp hours and check your charging can replace them.
Calculator
Watermaker power use
What making your water costs the batteries.
- 13 Ah a day
- 160 Wh a day
Mistakes to avoid
- Sharing a through hull with the engine or the heads.
- Mounting the membrane where it cannot be slid out without removing a bulkhead.
- Sending product water straight to the tank with no way to test or divert it.
- Flushing with chlorinated dock water and no carbon filter. Chlorine destroys membranes.
- Hose runs with high points that trap air.
How long it takes
A boxed unit in a ready space can be a two day job. A modular install on a sailing boat is more often four to six days of work, including the through hull, which needs the boat out of the water. Plan it with the next haul out.